
LoafWallet is the most popular Litecoin mobile wallet created by the Litecoin Foundation. This step-by-step tutorial will walk you through the creation of your LoafWallet and provide a short tutorial on how to transfer and receive Litecoin using LoafWallet.
Creating a Wallet
Step one: Download the app
You can search LoafWallet on the App Store and Google Play or click on the links below to download for free.
Apple: Click here
Android: Click here
Step two: Create a new wallet and 6 digit PIN
Tap on "Create New Wallet" and set your PIN.
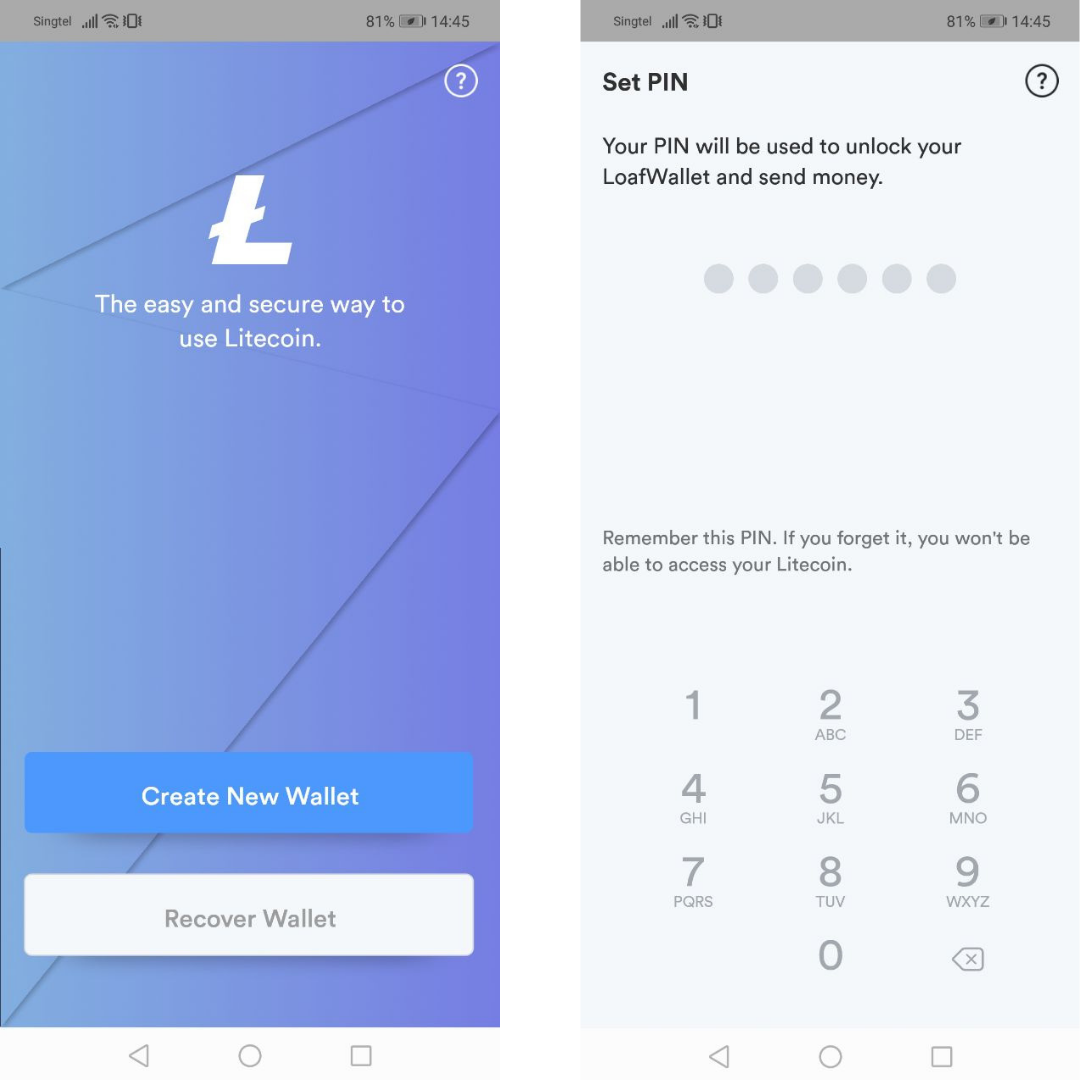
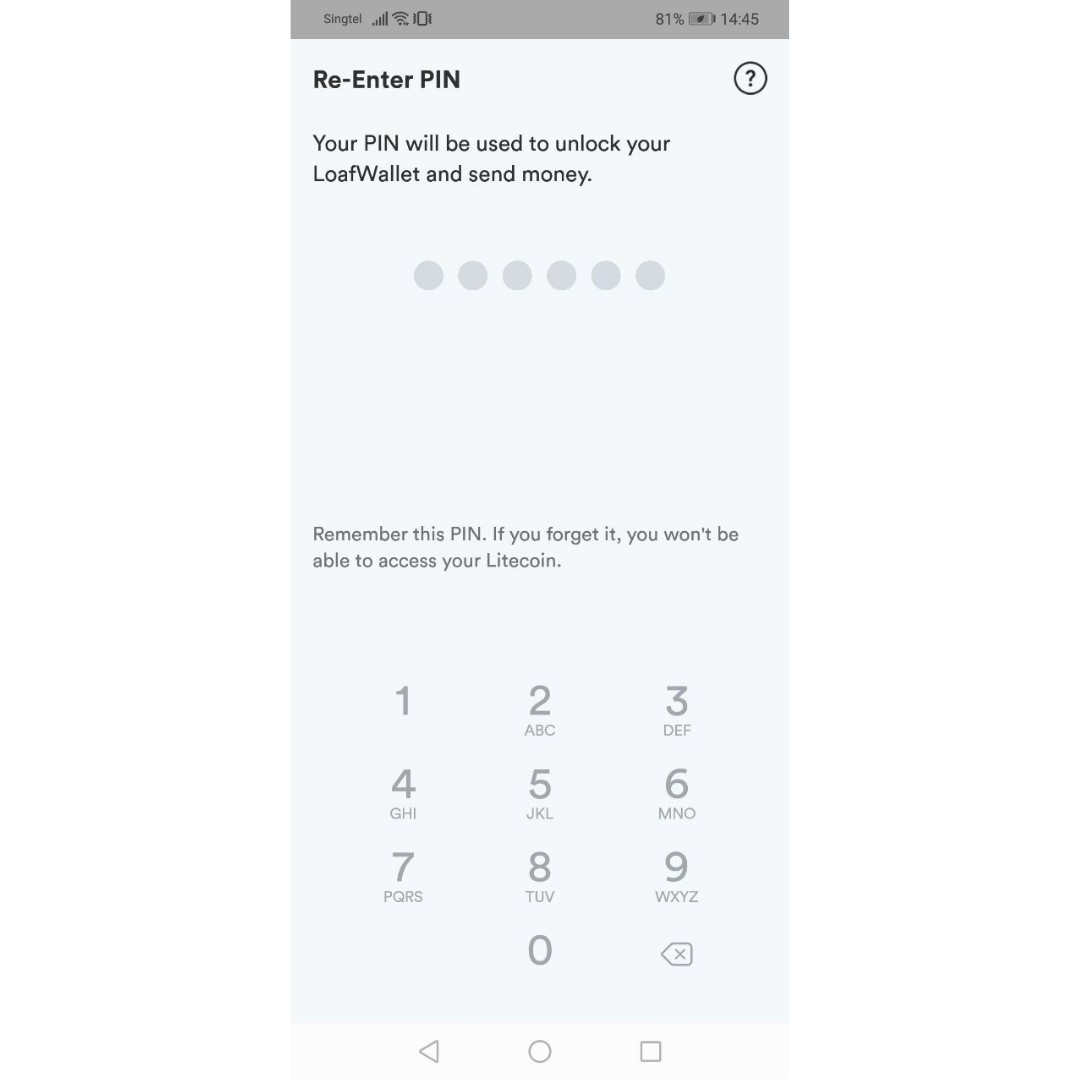
After keying in your PIN, you will be asked to key in your PIN again to confirm. After which, you would have successfully set your PIN.
If you forget your PIN, you would lose access to your Litecoin (LTC), so do make sure you set a PIN that you can remember easily.
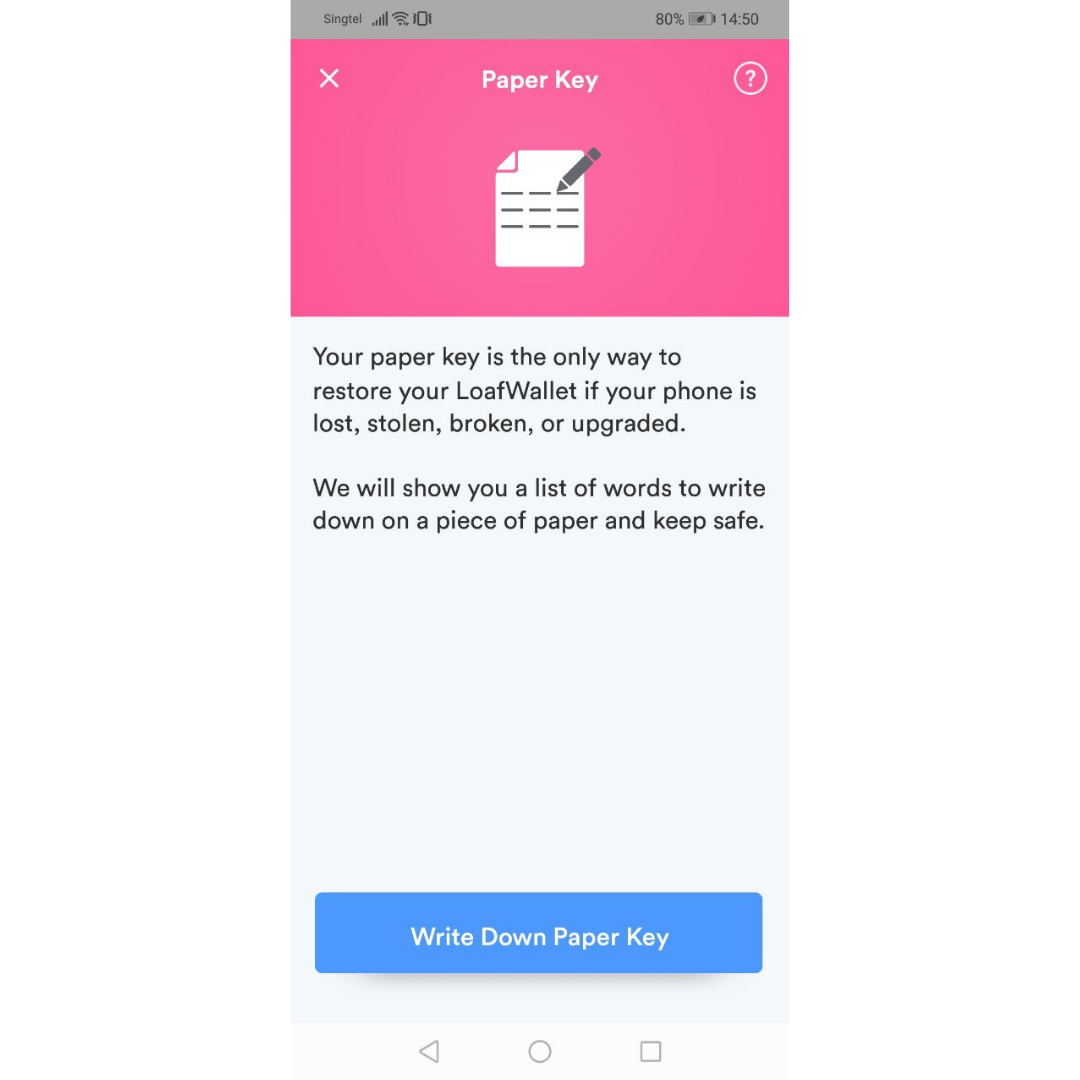
Step three: Write down your paper key
The paper key consists of a list of 12 words which you would need to write down on a piece of paper to keep in a safe place. This paper key will be required to restore your LoafWallet if your phone is ever stolen or changed.
To generate your paper key, tap "Write Down Paper Key" and key in the pin that you have just created in Step two. After writing down a word, tap "Next" until you have all 12 words written down in order. If you miss a word, you can go back to the previous word by tapping "Previous". Also make sure that you write down the words in the order it was given.
Once you have written down all 12 words, the app will check that you have written down them correctly by asking you to enter two of the words from the list. This is case sensitive, so make sure that everything is entered in lowercase. If the word is incorrect, it will be indicated in red underline. Otherwise, a blue check mark indicated and once you have two blue check marks, you can tap submit.
If you would like to enable fingerprint authentication, move on to step four. Else you can now start using your wallet!
Step four: Fingerprint Authentication
To enable fingerprint authentication, you can either tap the "Enable Fingerprint Authentication" notification or tap "Menu" on the bottom right of the screen and select "Security Center">"Fingerprint Authentication". Here you can toggle the ON and OFF button to enable or disable fingerprint authentication.
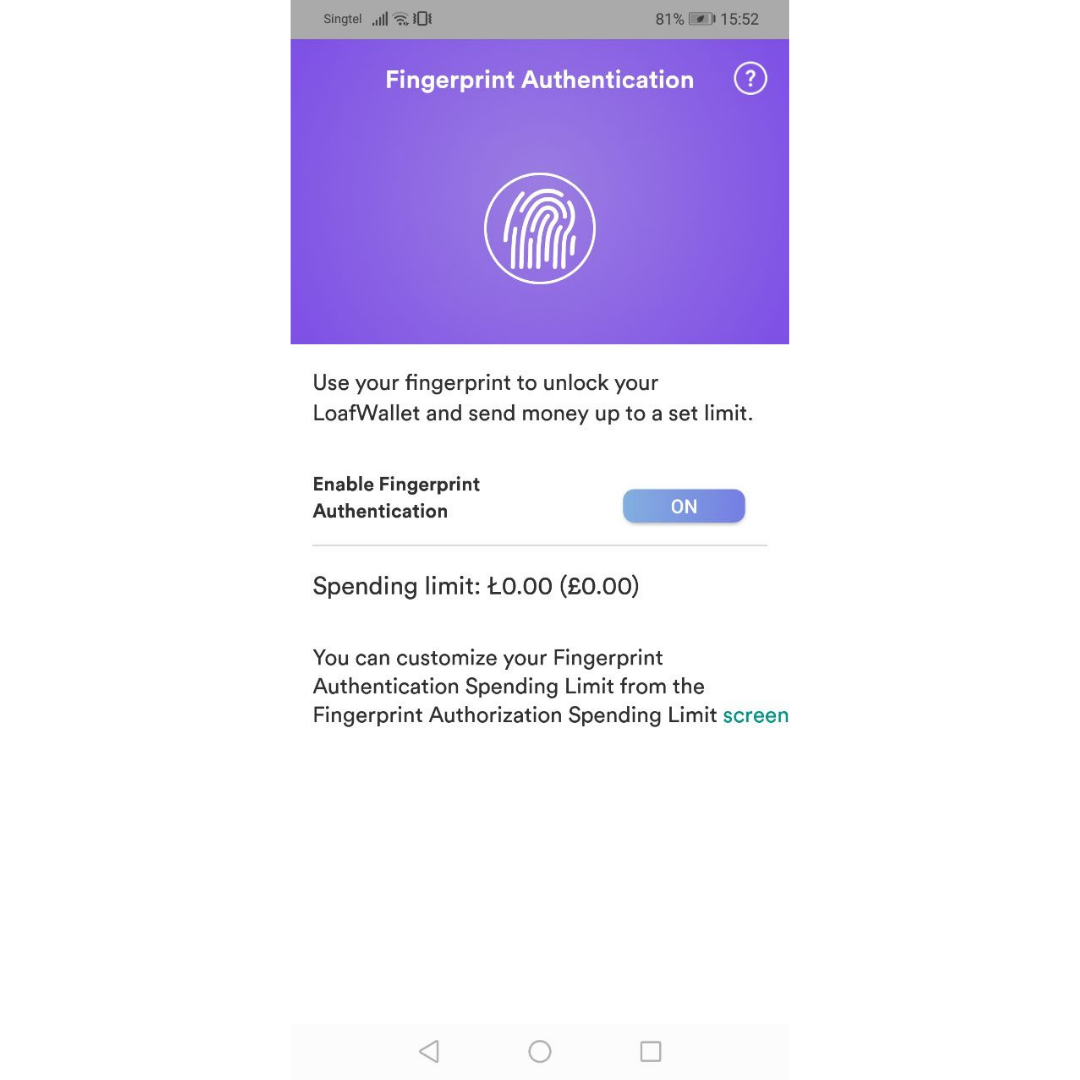
When fingerprint authentication is enabled, you are able to authorise the transfer of LTC from your wallet using your fingerprint as long as it is within the spending limit that you have selected. To customise the spending limit, you can tap "screen" at the fingerprint authentication screen shown above, or you can go to "MENU" > "Settings" > "Fingerprint Authentication Spending Limit". You will then be prompted to key in your pin again to access the page shown below.
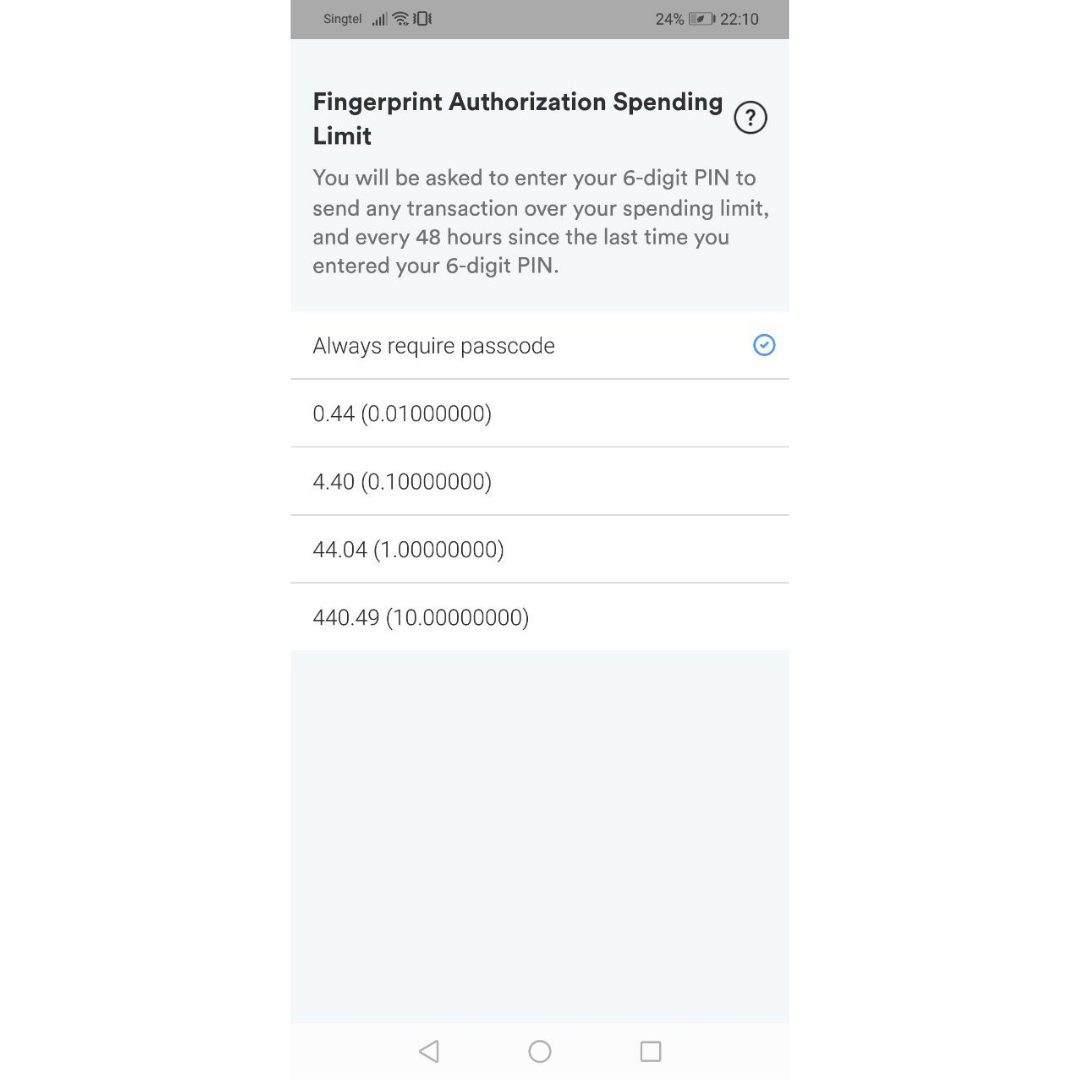
When sending LTC above the spending limit, the PIN will have to be keyed in to authorize the transfer. Otherwise the transaction can be authorized with your fingerprint.
I've created my wallet, now what?
Now you're ready to begin using your LTC wallet!
Receiving LTC
To receive LTC, tap "RECEIVE" on the bottom of the home screen. A QR code of your address will be shown. To copy the address onto your clipboard, tap and hold the address below the QR code. You can also share your wallet address directly by tapping "Share". Here you have an option to share your address directly via email or text message. You can also send it to other messaging apps like WhatsApp and Telegram by selecting the "Email" option.
For more information about what an address is and the difference between an address and a public key, check out this article - What are Address, Private Key, Public Key, and Passphrase?

Sending LTC
If you are sending LTC to another wallet, tap "SEND" located on the bottom left of your home screen. If you have already copied the recipient wallet address onto you clipboard, you can simply tap "paste" to fill up the first field, or you can also tap "scan" if you have the QR code of the address.
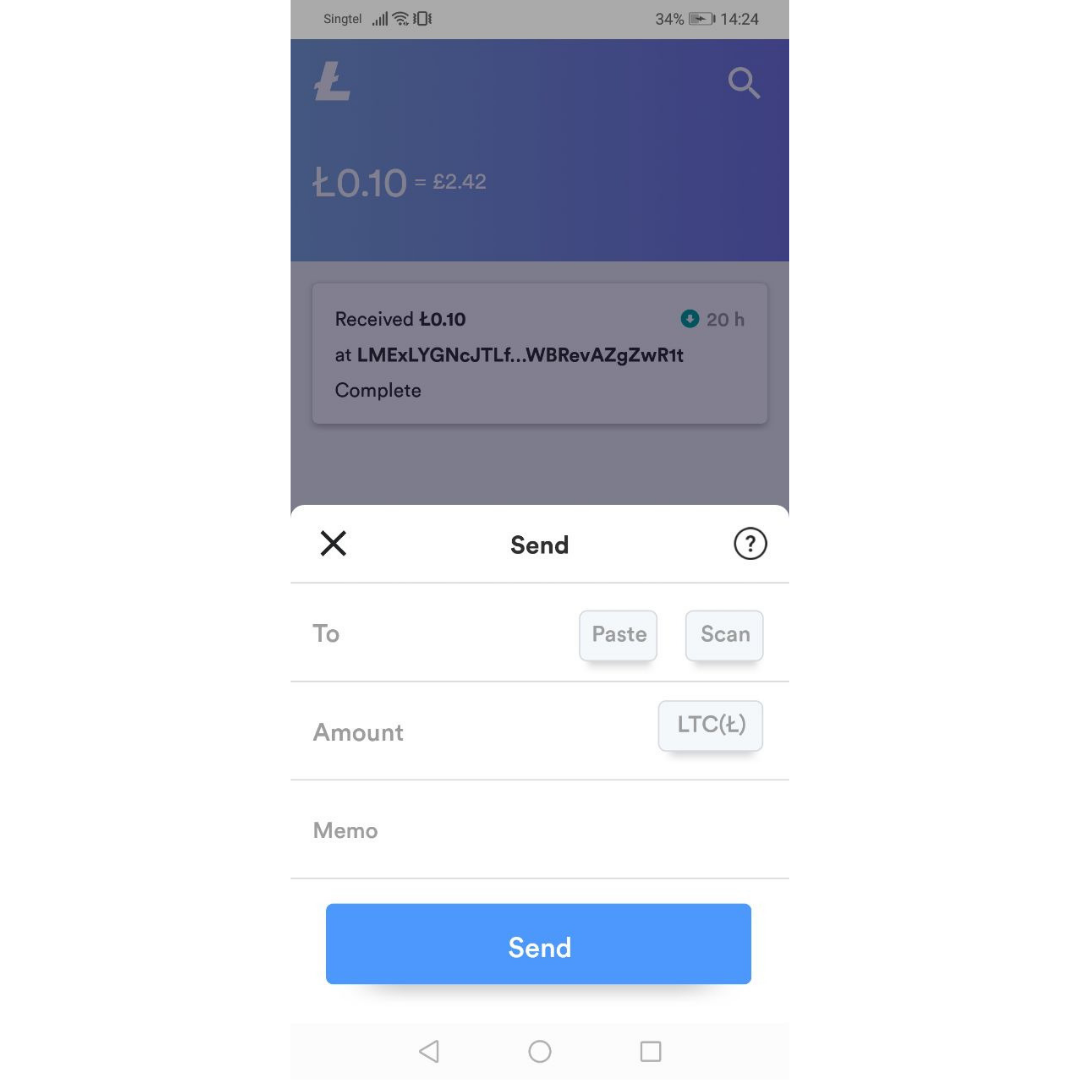
Once you have keyed in the wallet address, you can then enter the transfer amount in LTC or other currencies (this currency be changed under "MENU" > "Settings" > "Display Currency"). You can also add a memo to the recipient but this is optional and can be left blank.
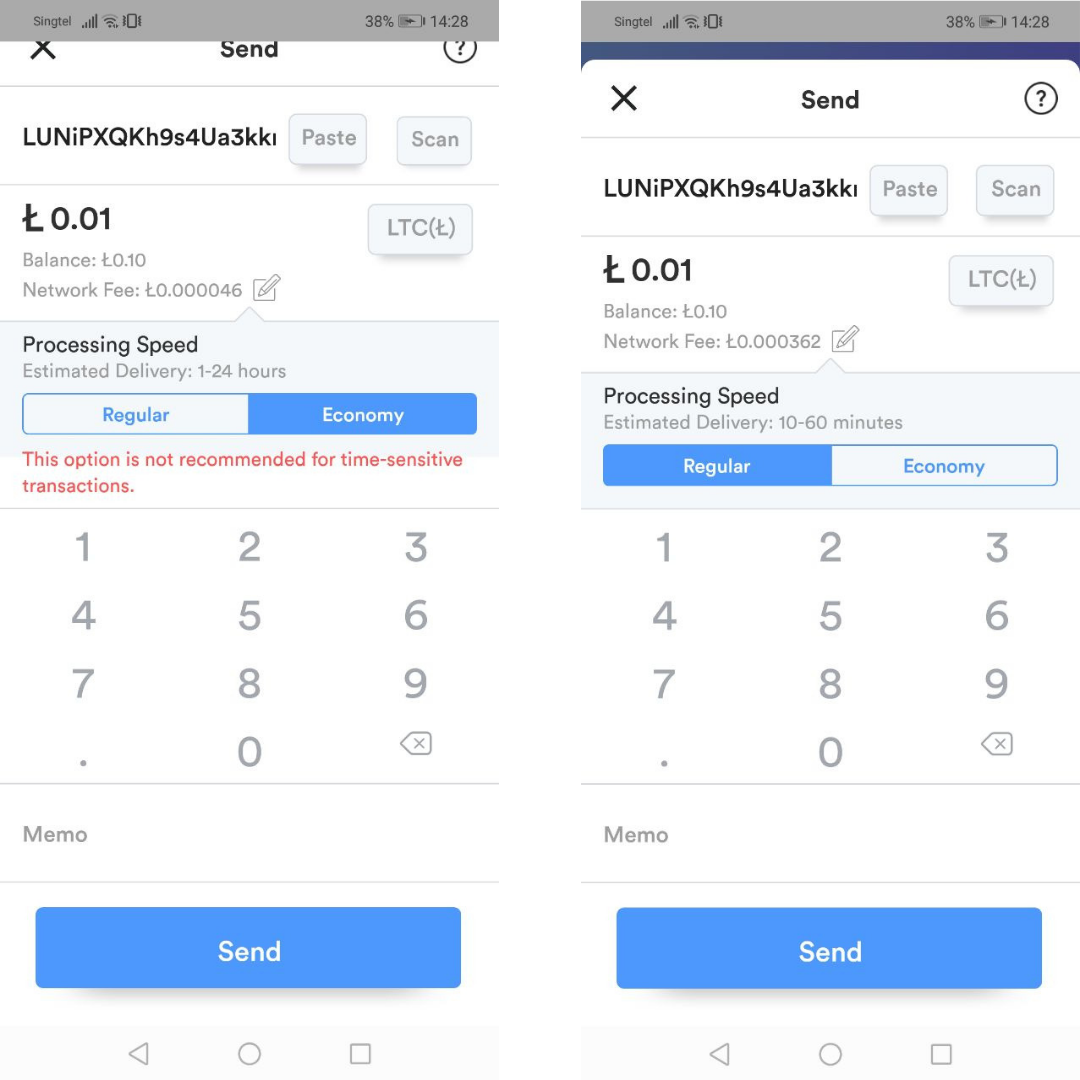
Once you have keyed in the transfer amount, you will be able to see the network fee for making this transaction. You have the option of choosing either a "Regular" fee or an "Economic" fee. When choosing the "Economic" option, the network fee will be much lower but the processing speed is longer. You can see the difference in processing speeds in the screenshots below.
Importing an Existing Litecoin Wallet
If you already have LTC in another wallet and have access to the private key (like on a paper wallet), you can import them into LoafWallet by going to "MENU" > "Settings" > "Import Wallet". This essentially only adds the LTC assigned to that private key into your LoafWallet balance and hence, would not include details like transaction history. Do note that this differs from receiving LTC as there is no transaction taking place when importing private keys.
Viewing Transaction Details
Once you have made a transaction through LoafWallet, you can access the transaction details easily from the home screen. An example of the details is shown in the screenshot below.
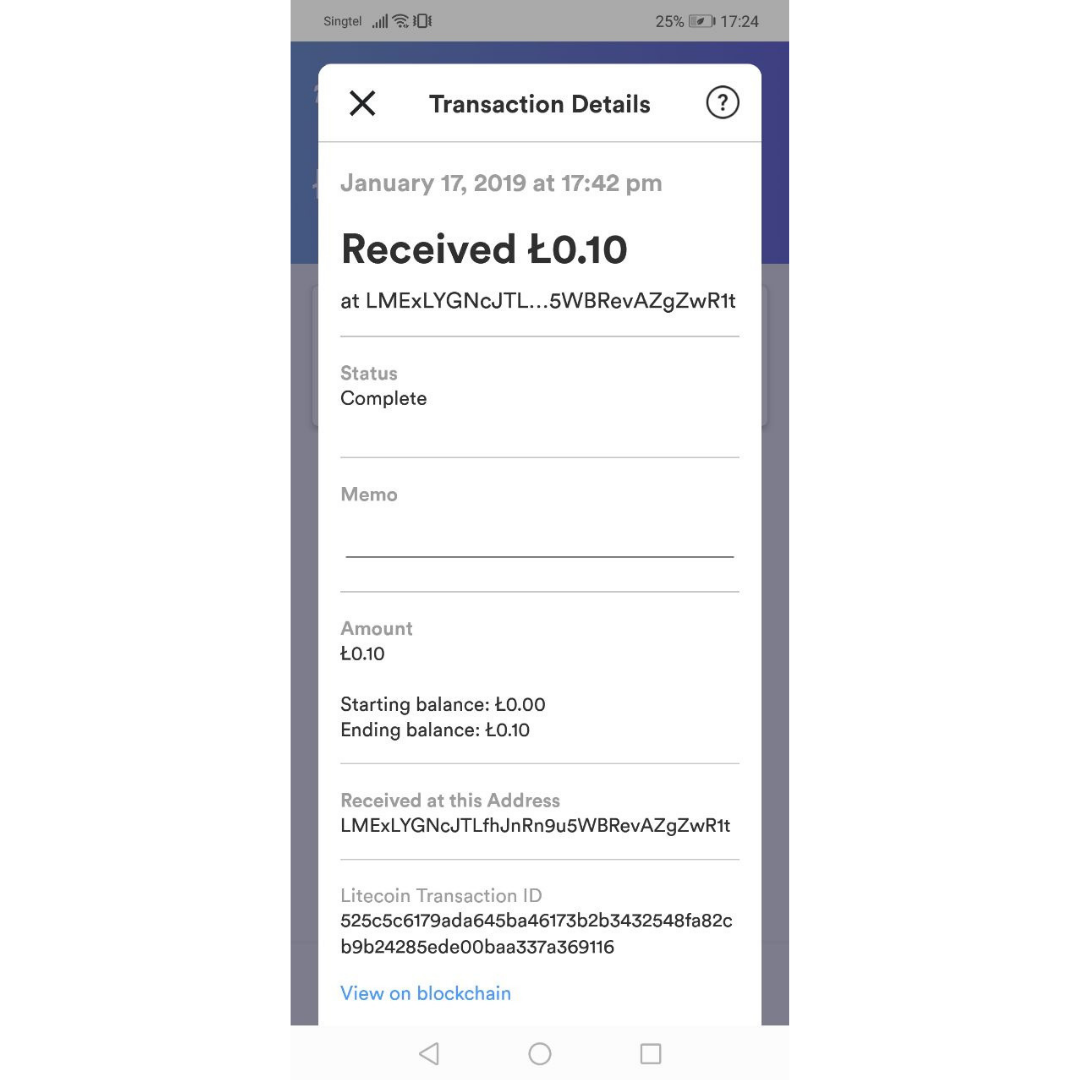
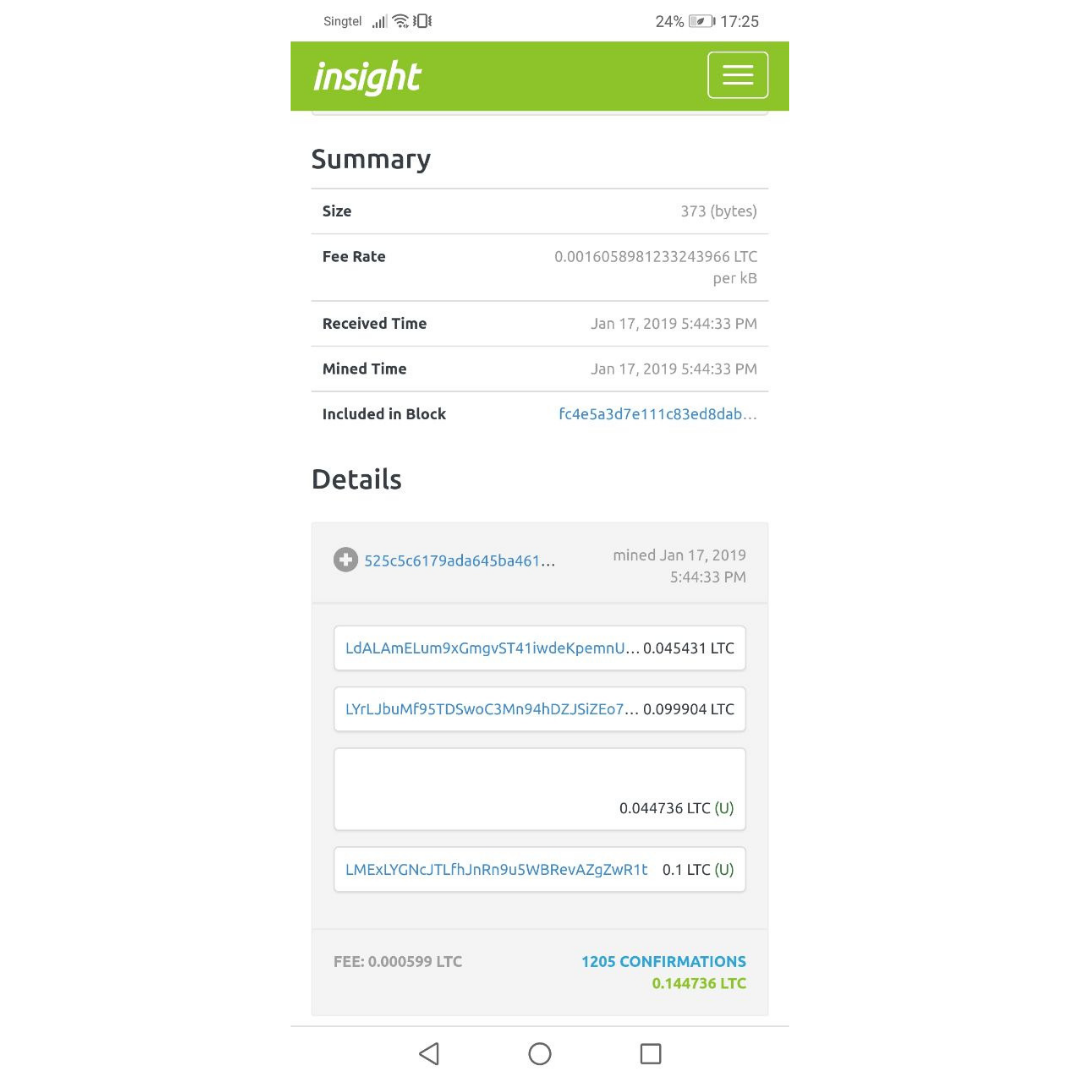
You can also look up the transaction on the blockchain by tapping "View on blockchain". This will link you to Insight, which is a Litecoin blockchain explorer. There you will be able to see even more details of the transaction from your transaction ID.
If you are able to see your transaction on insight but not on LoafWallet, you can try syncing with the blockchain by going to "MENU" > "Settings" > "Sync Blockchain". Do note that you will not be able to send LTC while syncing.
And that's about it! If you would like to know more about LoafWallet, you can visit the LoafWallet website here.
